Create a workbench
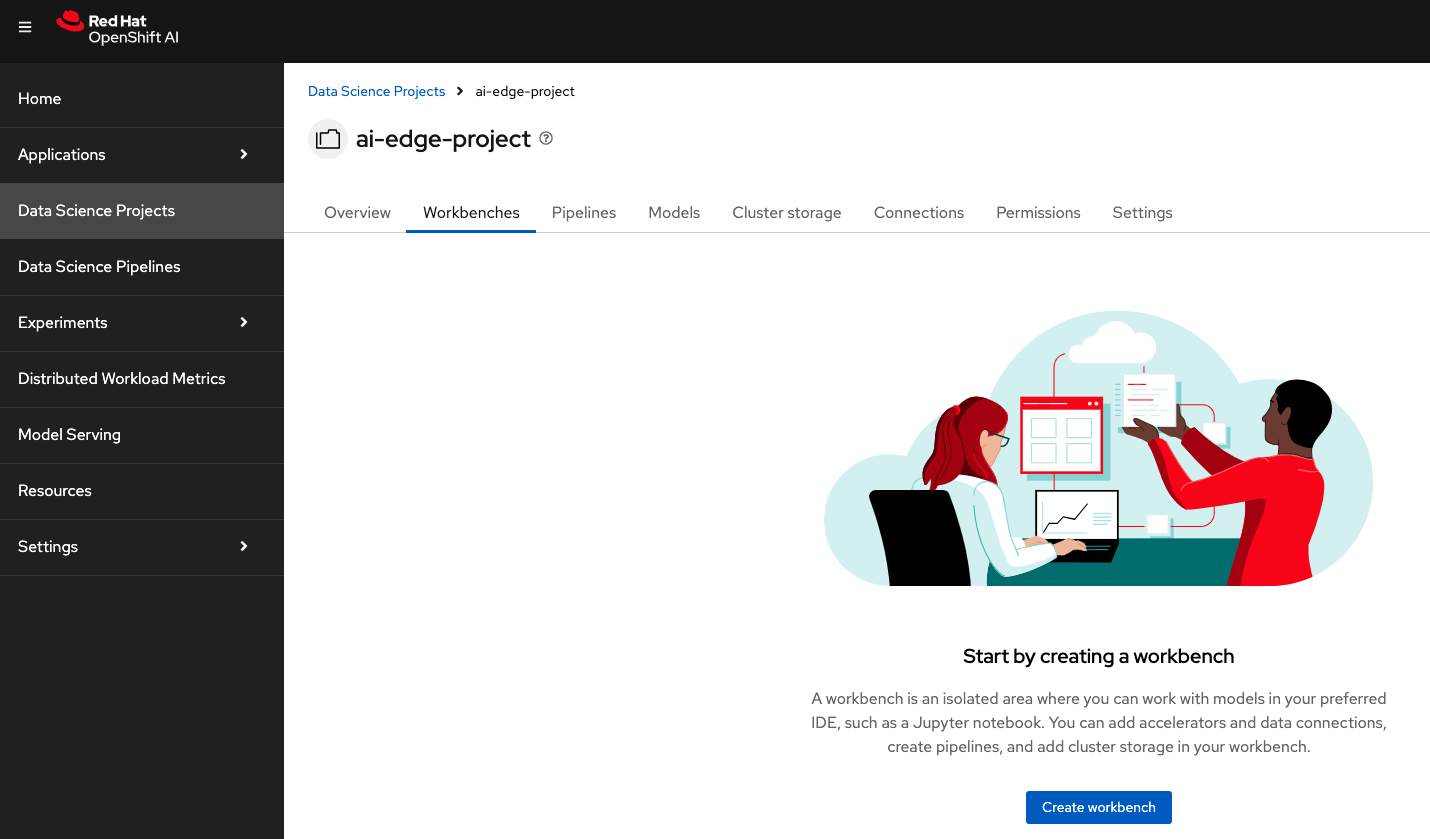
Inside the new project, we can create different components. One of them, and probably the most important one when it comes to model training, will be the Workbench. A workbench is a containerized workspace that operates within a pod and contains a collection of different AI/ML libraries and a JupyterLab server.
-
There are different tabs inside our project page. Click on Workbenches.
-
On there, select the Create workbench button to open the configuration window.
-
Complete the fields as follows. You will see that there are plenty of different configurations depending on your model and environment specifications:
-
Name: Type your preferred name. I will use
model-training. -
Image selection: the election will depend on the model requirements. Click on View package information to see the packages included. Our model will use
TensorFlow. -
Version selection: The recommendation is to use the latest package versions. That will be the
2024.2version. -
Container size: we can select the resources assigned depending on our hardware: number of CPUs, memory, and request capacity of the container. In this case, the
Smallsize is enough. -
Check the Create new persistent storage box.
-
Name: Type any desired name for the persistent volume. For example,
model-training. -
Persistent storage size: Specify the desired capacity for the volume. I will start with
20GB, but we can always expand it if necessary. -
Under connections, select Attach existing connections. Verify that the
s3-storageconnection is selected and click Attach.
-
-
Review your configuration and press Create workbench. This last step will trigger the workbench creation.
-
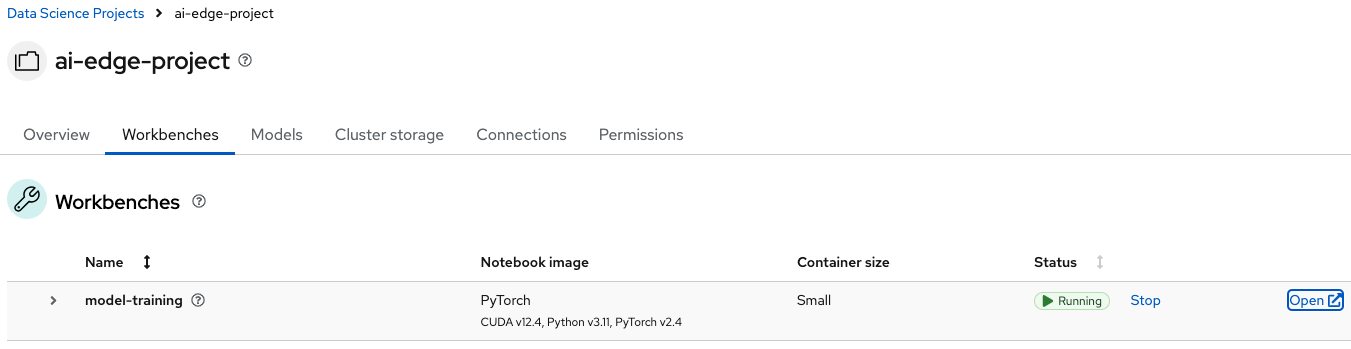
You will be automatically redirected to another page where you can track the workbench deployment process. Wait until the Status shows Running and click Open.
-
A new tab will open. Enter again your OpenShift credentials to authenticate to the workbench’s JupyterLab platform.